Terraria’s underground worlds have always been filled with secrets, but few are as deceptively simple as the statues scattered beneath the surface. Even in 2026, with years of updates and refinements, these stone contraptions remain one of the most overlooked yet powerful tools available to players. Whether you’re a fresh adventurer or a seasoned builder, knowing which statues to prioritize can drastically change the way you farm resources, gear up, and survive brutal boss encounters. This guide dives into the most valuable statues, how to exploit them, and what makes each one essential for any serious Terraria enthusiast.
Statues can be found throughout the underground, cavern, and dungeon layers, often tucked away inside Underground Cabins or nestled amid dangerous spider caves. Some can even be crafted, while others must be hunted down in specific biomes. With over 100 different statues in the game, sorting through the clutter is a challenge — but knowing the best ones makes all the difference. Thanks to community discoveries and continued support from Re-Logic, the meta around statue usage has remained remarkably deep. Here are the statues you truly want in your collection.
🦄 Unicorn Statue – Late-Game Horn Farming
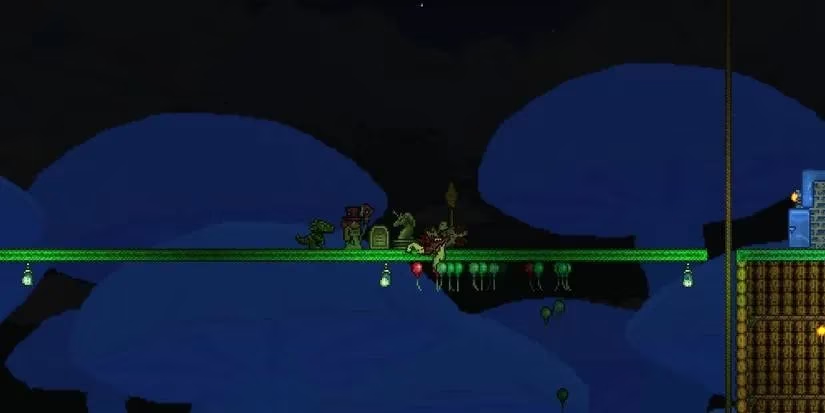
Acquiring Unicorn Horns before entering Hardmode is normally impossible, but the Unicorn Statue offers a clever workaround. Once wired up, it spawns unicorns directly into your arena. However, wise explorers wait until after defeating the Wall of Flesh — only then do the horn drops become available, albeit at a reduced rate. These horns are critical ingredients for Super Mana Potions, Holy Arrows, and the magical Rainbow Rod, making this statue a staple for any serious crafter.
Beyond horns, the statue-created unicorns have a tiny chance to drop the whimsical Unicorn on a Stick or the speed-boosting Blessed Apple. One crucial detail: lava traps and automated killing methods will prevent any loot from dropping. Manual slaying is the name of the game here, so plan accordingly.
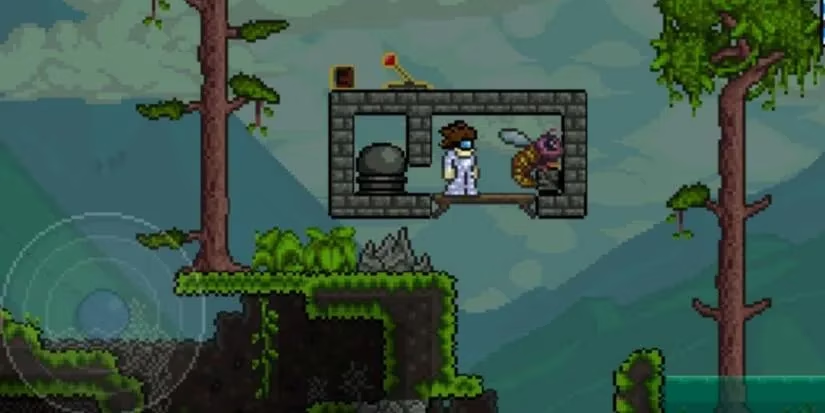
🦋 Butterfly Statue – Infinite Bait and Golden Profit

Crafted from 50 Stone Blocks and five butterflies of any type, the Butterfly Statue is a game-changer for anglers and gold hunters alike. Once activated, it materializes random butterflies — including the legendary Golden Butterfly, which sells for a staggering ten gold coins. With a spawn chance of only about 0.25%, it’s a rare windfall, but entirely passive income once set up.
More practically, butterflies serve as premium fishing bait. The Tree Nymph butterfly, for instance, grants a whopping 50% fishing power. By designing a simple butterfly farm with this statue, players can spawn an endless stream of winged bait — just be sure to have a Bug Net on hand to catch them. Note that Hellfire Butterflies will never appear, so don’t waste your time hoping for those.
🐱 Bast Statue – Defensive Aura for Battle Arenas
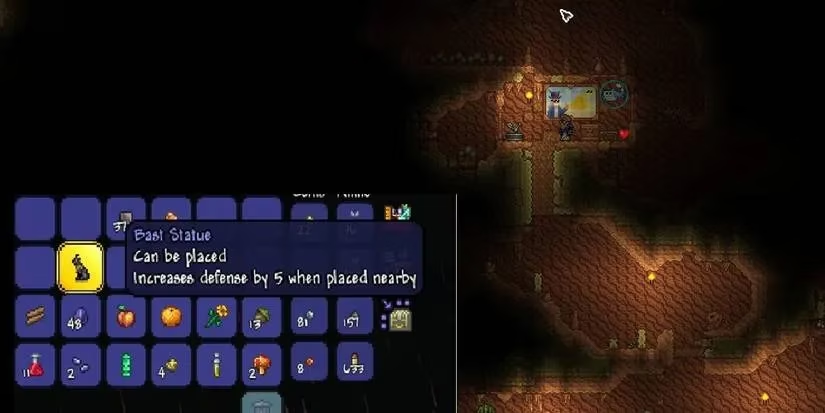
Delving into the treacherous Underground Desert biome is a rite of passage, and the Bast Statue is one of its greatest rewards. Modeled after ancient Egyptian cat idols, these statues emit a subtle but powerful area-of-effect buff that grants +5 Defense to every nearby player. In boss arenas or invasion farms, that extra defense can mean the difference between survival and respawn.
Bast statues cannot be crafted; they must be scavenged while dodging sand traps and antlion swarms. The buff doesn’t stack with multiple statues, but savvy builders can place them strategically to ensure full arena coverage. Walk the edges of your ring of fire, find the gaps, and drop another Bast — your team will thank you.
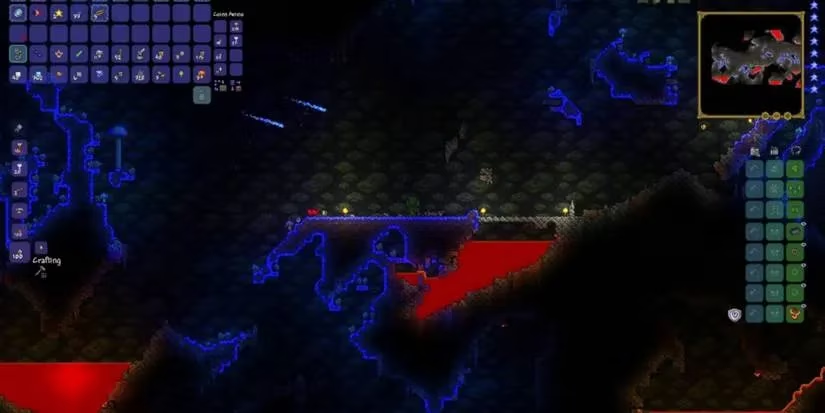
🟢 Slime Statue – Automated Gel and Rare Drops
If you’ve ever dreamed of infinite gel, the Slime Statue is your best friend. Spawning slimes at a steady rate, it enables a semi-AFK gel farm that fuels torches, flamethrowers, and various crafting recipes. Even better, each slain slime has a microscopic 0.01% chance to drop the elusive Slime Staff — a summoner weapon that’s notoriously hard to obtain otherwise.
Pro tip: unlike many other statues, slimes killed by lava or traps will drop gel (though not the staff). This makes full automation a breeze. Set up a lava pit underneath, wire a timer, and watch your gel reserves climb with zero effort.
💣 Bomb Statue – Explosive Resupply

Sometimes the simplest tools are the most indispensable. The Bomb Statue does exactly what you’d expect: it conjures bombs at the click of a button. Whether you’re blasting through tough terrain, building elaborate arenas, or fighting bosses that laugh at conventional weapons, a steady supply of explosives is always welcome.
There’s a catch, though. The statue won’t spawn anything if there are already 10 Bomb, Heart, or Star statues in the same world, or if three such functional statues sit within a 16-tile radius. Plan your engineering projects wisely, and place only the statues you truly need.
🎐 Jellyfish Statue – Underwater Glow and Accessories

For explorers who spend time in the dark ocean depths, the Jellyfish Statue is a luminous boon. Each spawned jellyfish can drop 1–4 glowsticks with a 2.5% chance, helping you light up caverns without consuming torches. But the real treasures are the Jellyfish Necklace (0.025% chance) and, on PC, the Blue Jellyfish Kite (0.4%).
Sadly, jellyfish killed by traps or lava yield no items whatsoever, so set up a manual grinding station if you’re after the accessories. Even so, the statue remains a charming and occasionally profitable addition to your underground base.
⭐ Star Statue – Mana on Demand

Mana recovery in the heat of battle can be frustratingly slow — unless you have a Star Statue. Every ten seconds, this statue materializes a Mana Star, instantly refilling a portion of your mana pool. For mages, summoners, and hybrid casters, it’s a lifeline that allows sustained spell-slinging even during marathon boss fights.
When combined with a timer and placed near your arena, the Star Statue becomes a reliable source of arcane energy. Remember the spawning limit rules: you can have up to ten combined Heart, Star, or Bomb statues in the world. Space them out or isolate the ones that matter most.
❤️ Heart Statue – Portable Health Station

If the Star Statue is the backbone of mana-reliant builds, the Heart Statue is its life-sustaining counterpart. Popping a heart every 10 seconds, it can drastically reduce the number of potions you need to guzzle during an encounter. Place them along your arena path for a regenerative boost that doesn’t rely on RNG heart drops from enemies.
Just like its magical cousin, the Heart Statue obeys the collective spawn limit. Still, a well-placed heart dispenser can make early Hardmode bosses far more manageable. Seek one out early — your early-game Vulnerability will thank you.
⛰️ Granite Golem Statue – Profit and Helmets
The Granite Golem Statue might be one of the most profitable non-trapping statues in Terraria. Console and 3DS players enjoy a 100% Granite Block drop rate per golem, while PC and mobile versions bring it down to 20%. Those systems compensate with the chance (1%) to drop Geodes, a source of gems and coins. Perhaps even more attractive is the Night Vision Helmet, which drops at 3.3% (console/3DS) or 0.67% (PC/mobile).
These helmets sell for a tidy sum and look pretty cool to boot. Setting up a small manual grinder — since traps and lava nullify drops — will quickly build your bank while adding unique vanity items to your wardrobe.
💀 Skeleton Statue – Ancient Vanity and Rare Weapons
Last but certainly not least, the Skeleton Statue offers a grim aesthetic and surprisingly decent loot. On the rare side, you might acquire an Ancient Gold Helmet (0.1%), an Ancient Iron Helmet (0.2%), or even the Bone Sword (0.098%). The most common utility drop is the Hook at 0.8%, useful for crafting grappling hooks early on.
Much like the Granite Golem, this statue requires manual kills — lava and traps render the skeletons lootless. Still, the combination of cool cosmetic pieces and functional equipment makes the Skeleton Statue a worthy addition to any collection.
Even as Terraria continues to evolve through 2026, these statues remain linchpins of efficient gameplay. Whether you’re constructing an automated gel factory, a heart-fueled boss arena, or simply hunting for that one-in-a-thousand drop, knowing which statues to look for — and how to wire them correctly — can elevate your entire adventure. So grab your pickaxe, venture into the deep, and start collecting.